Blackberry season is a bit paradoxical; berries only ripen in late July when the temperature rises, when one is one less-inclined to turn on the oven, and yet, freshly-picked blackberries mean pie.
But I promise that this particular pie will more than compensate for your over-heated house. Because it’s gooood.
So here’s the thing about gluten-free (or wheat) pie: the crust is a bit of a pain. If you like to use xantham gum to help it stick together you can, but frankly I don’t care for it. But if you work the dough correctly, it will come out well. It’s not going to look perfect. It may crack, break, or fall in, but as long as it tastes amazing, what does it matter? Call it “rustic,” and call it a day.
Gluten-Free, Dairy-Free Blackberry Pie
Adapted from The Cook Book, Limited Edition
For the crust:
- 1/2 cup brown rice flour
- 1/2 cup sorghum flour
- 1/4 cup tapioca flour
- 3/4 tsp salt
- 2/3 cup Earth balance buttery sticks
- 6 tablespoons cold water
For the filling:
- 5 cups fresh blackberries
- 3/4 to 1 cup sugar
- 1/3 cup sorghum flour
- 2 teaspoons finely grated lemon peel/zest
The hands-down, easiest way to make a gluten-free crust is in a food processor. Begin by mixing together flour and salt. (You can add a tablespoon or two of sugar if you like a sweeter crust.) Add in Earth Balance, and pulse until mixture resembles coarse crumbs, and sticks together when squeezed.
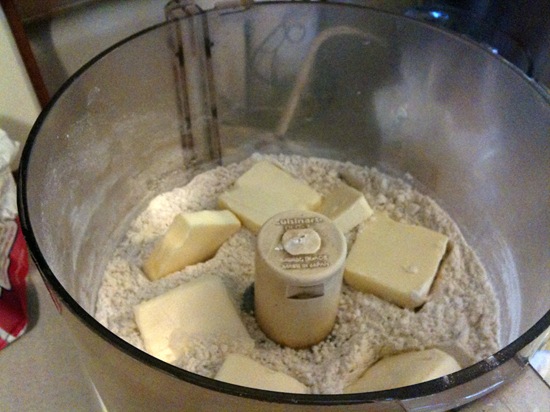 While processor is running, add 6 tablespoons cold water quickly into the feed tube. Pulse two more times and work dough into a ball; divide in two.
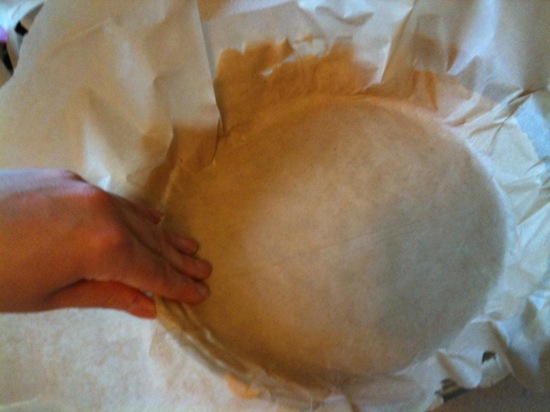
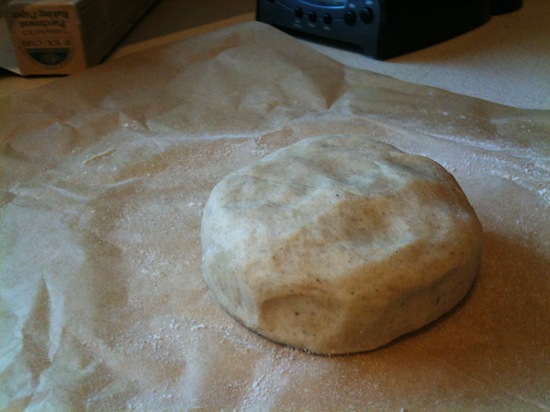 Roll dough out into a circle; keep it between two sheets of parchment paper so you don’t have to add any extra flour or worry about sticking. Since the traditional method of rolling the dough onto the rolling pin doesn't work well with GF dough, you can transfer the crust into the pan with one layer of parchment paper still on.
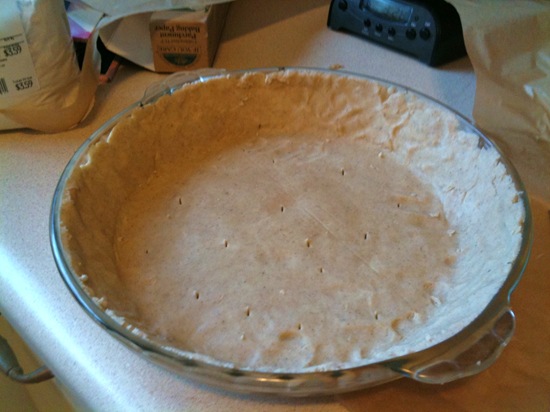
Poke a few holes in the bottom, trim the edges, and Ta-Da!
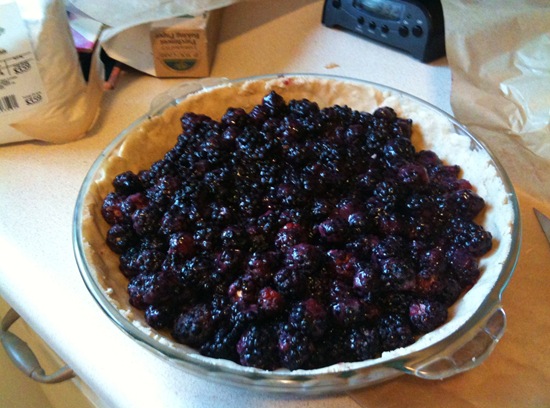
In a separate bowl, mix berries with sugar, flour, and lemon peel. Mix gently until flour is absorbed. Pour into prepared crust.
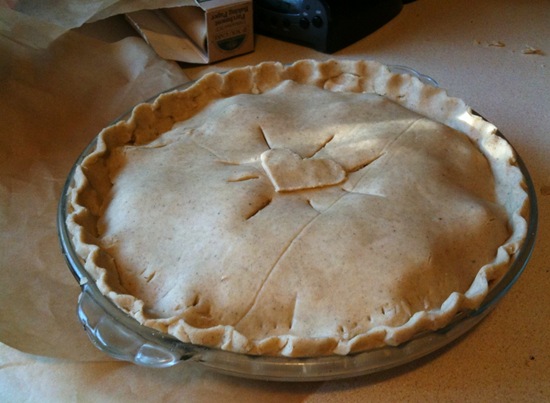
Roll out top crust between parchment paper and cover pie, tuck in and crimp edges. Add several slits on top for venting.
For extra browning, brush on soy milk and sprinkle with sugar (oops, I forgot to this step when I made mine!). Cover edges with foil, or a handy edge cover as shown below. Bake in a 375 degree oven for 25 minutes; remove foil. If you’re using a edge cover, you can leave it on as desired. 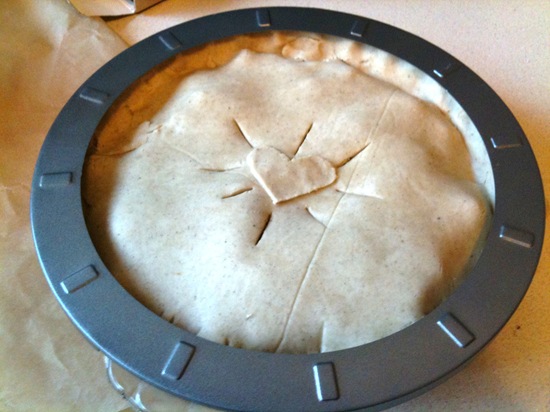
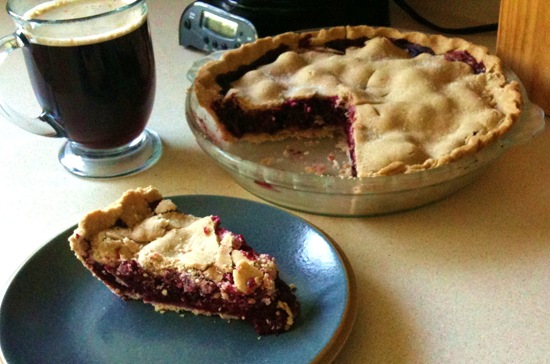
Bake for another 25-30 minutes, until filling starts to bubble through the crust, and done!
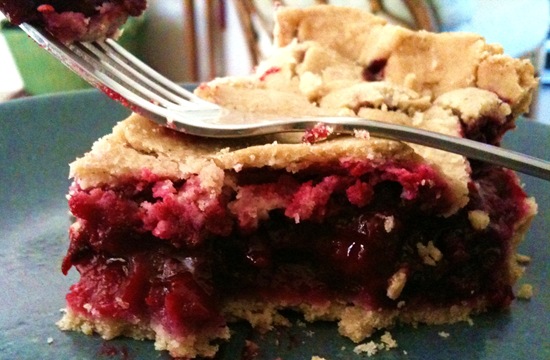
Cool for at least 2 hours on a wire rack. I know this step is hard, but trust me, it’s so worth it. If you cut this pie warm, the filling will ooze out.
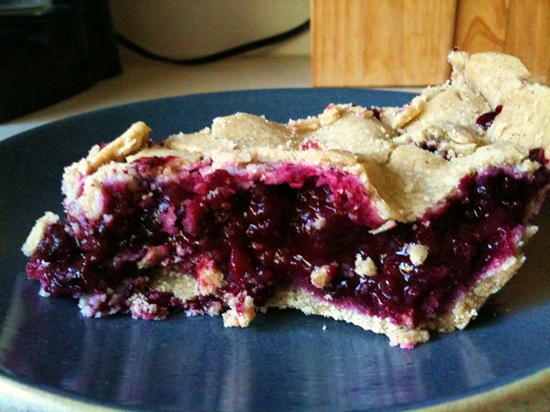
Let it set until the bottom of the pan is cool, and if you have the patience, let it cool overnight in the fridge. That way, you will get a slice with firm, tangy filling that has sunk into the crust. It’s a little messy, but who cares?
If this isn’t gluten-free pastry heaven, I don’t know what is.

